Tag: production mindset

Learning When to Move Forward in 3D Production

Perfectionism is often associated with quality, but in a production environment it can become counterproductive.
For a long time, I believed that doing a good job meant refining every detail as much as possible before moving on. Through working on real projects and full pipelines, I learned that quality in production is not about endless polishing, but about understanding when a task is ready to move forward without compromising the overall process. 

This post reflects on that shift and how it changed the way I work.


The Real Problem Behind Perfectionism

In 3D production, perfectionism rarely looks like excellence. More often, it shows up as hesitation, over-control or difficulty letting a task go.

Early on, I associated professionalism with pushing every asset or shot to its absolute limit. I wanted everything to be flawless before letting it go. The problem is that production doesn’t work in isolation. Every task is connected to the next one, and slowing down one step often affects the entire pipeline.

Perfectionism, when unmanaged, doesn’t protect quality. It delays decisions, blocks iteration and creates unnecessary pressure for both the artist and the team.


Early Signs That Something Wasn’t Working

Over time, I started noticing situations where I was:

  • Spending too long polishing elements that would barely be visible in the final shot
  • Hesitating to move forward because something felt “not perfect yet”
  • Reworking details without a clear production reason
  • Feeling mentally stuck even when the technical work was correct

The biggest change came when I stopped asking “Is this perfect?” and started asking “Is this doing its job?”

Instead of refining endlessly, I began to evaluate my work based on clear criteria:

  • Does this asset work correctly in the scene?
  • Is the topology, scale and structure reliable for the next steps?
  • Will further polish actually improve the final result, or just consume time?

This shift didn’t mean lowering standards. It meant aligning quality with purpose. Understanding that not every task requires the same level of refinement helped me make decisions faster and with more confidence.


Pipeline Awareness and Real Production Impact

Once I started working this way, the difference was noticeable not only in my own workflow, but in how my work fit into the broader pipeline. Deadlines felt more realistic, not because I rushed, but because I understood where my time had the most impact.

From a production point of view, this balance is essential. A task that is well prepared, reliable and delivered on time supports the entire team. A task that is overworked too early, even if visually strong, can become a bottleneck.

Understanding when something is “production-ready” rather than “personally finished” is a skill that directly affects the health of a project.


What Other Artists Can Take From This

Especially at the beginning, perfectionism often comes from caring deeply about the work. That care is valuable, but it needs direction.

What helped me most was learning to define the objective of each task before starting, understanding what level of finish was actually required at that stage, and accepting iteration as a normal part of the pipeline rather than a sign of failure.


A Personal Reflection

I still care deeply about detail, mood and visual quality, but I now approach them with a clearer sense of timing and purpose. That shift has made my process healthier and my decisions more confident.

In professional production environments, progress and quality are not opposites. They depend on each other. Knowing when to move forward responsibly allows projects to evolve, teams to trust the process and ideas to improve through collaboration rather than stagnation.

You can see how this approach translates into my projects through the detailed case studies in my portfolio.

My Base Setup Before Starting Any 3D Project

When starting a new project, it’s tempting to jump straight into modeling, texturing, or whatever part feels most exciting. I used to do the same.
Over time, especially through collaborative projects and production-based work, I realized that many of the problems that slow a project down don’t come from the creative work itself. They come from poor organization, unclear structure, and technical decisions that weren’t considered early enough.

What once felt like “saving time” often ended up creating more work later.

This is why I now spend time setting up a project before creating any assets. It may seem like a small step, but it has a huge impact on how smoothly a project develops from start to finish.


Why projects slow down earlier than expected

Most projects don’t become messy overnight. It usually starts with small shortcuts: an object that isn’t named properly, a temporary folder structure, a file version that never gets cleaned up. None of these decisions seem important in the moment. The problem appears later, when the project grows.

During collaborative projects and short films, I’ve seen how unclear organization can make even simple updates harder than they need to be. Finding the correct file, understanding someone else’s scene, or making changes without affecting other elements becomes slower and more frustrating than the actual creative work.

Good structure doesn’t remove problems, but it makes them easier to solve.


How I prepare a project before creating assets

Before I start building anything, I take time to prepare a base structure that will support the project from start to finish.

Clear Structure and Naming

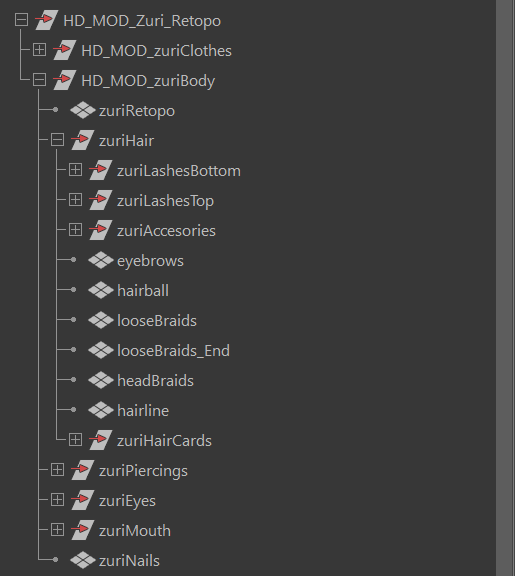
One of the first things I establish is a consistent organization system.

This includes:

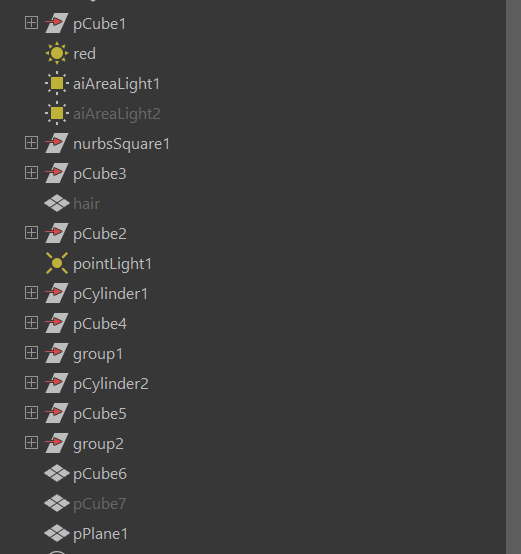
  • Logical asset grouping
  • Clean scene hierarchies
  • Clear naming conventions
  • Organized project folders

The goal is simple: anyone opening the project (including my future self) should be able to understand it quickly. A well-structured scene makes updates easier, reduces mistakes, and keeps production moving efficiently as complexity increases.

For teams, this clarity is essential. For solo work, it is what keeps the project manageable weeks later when you don’t remember what “cube67” was for.

Technical awareness without over-optimizing too early

At this stage, I’m not trying to optimize everything. Instead, I focus on creating a setup that can adapt as the project evolves.

Working primarily on character-focused projects during my Master’s degree taught me how often things change throughout production. Designs evolve, proportions shift, assets need revisions, and new requirements appear unexpectedly. A flexible setup makes those changes manageable.

Why this matters in production environments

This way of working has proven especially valuable in collaborative projects and real productions.

A solid base setup directly affects how reliable a file is when handed over to someone else. Clean structure, readable scenes, and predictable organization reduce the risk of errors and save time for everyone involved. The setup itself is not visible in the final render, but its impact is felt throughout the entire production.


What other artists can take from this approach

You don’t need an elaborate pipeline or a complex system to benefit from this mindset. The most important habit is simply thinking about the project beyond the current task. And whether another artist could work with that file easily.

These habits compound over time. And each project becomes easier to manage than the previous one.


Final thoughts

Earlier in my learning process, I was focused on finishing pieces as quickly as possible. With experience, especially after working on team-based productions, I understood that speed comes from preparation, not from skipping steps. Now, taking time to set things up properly helps me work with less stress, adapt more easily to changes, and enjoy the process more.

You can see how this approach is applied in my projects through the detailed breakdowns in my portfolio.

Why Every Technical Decision Should Have a Narrative Intention

In 3D production, technical decisions are never neutral. Even when they’re made for optimization, performance or pipeline reasons, they always affect how a scene reads. Through my projects, I’ve learned that scenes become stronger and production becomes smoother when technical choices are guided by narrative intention from the start, not added as an afterthought. This post explains how I approach that balance, using practical examples from a lighting study inspired by The Legend of Zelda.


Technique and storytelling are not separate

It is common to think in two phases: first make it work, then make it look good. In practice, this separation often creates problems, because technical decisions actively shape storytelling.

For example:

  • Lighting structure defines mood and emotional tone
  • Level of detail affects clarity and visual hierarchy
  • Material response changes how believable a scene feels
  • Scene complexity controls where the viewer’s eye goes

A scene can be technically correct and still feel unfocused if those decisions are made without a clear narrative goal.


A real project example: Zelda & Link lighting study

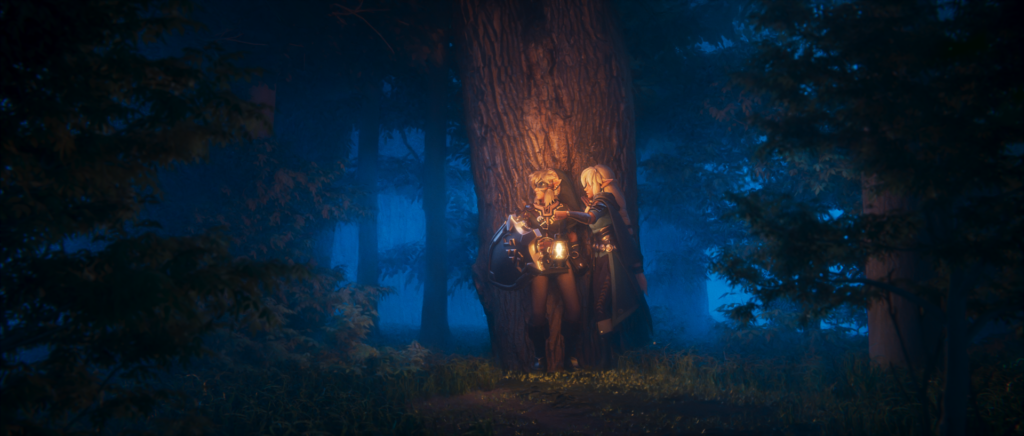
In my Zelda & Link: Magical Forest Lighting Study, the focus was not realism alone, but the balance between believable lighting and narrative intention.

The scene is set in a quiet night-time forest inspired by The Legend of Zelda, designed to communicate intimacy and connection through light, without dialogue or animation.

Before touching technical settings, I defined the narrative goals:

  • Focus attention on the relationship between the characters
  • Balance realism with a stylized emotional atmosphere
  • Preserve softness, mystery and depth in a dense forest environment

Key decisions during the process

Layout and composition

  • Camera, characters and key assets were positioned to frame the emotional axis: the line of sight between Link and Zelda
  • Negative space was carved to reduce visual noise
  • A basic lighting hierarchy was already considered at layout stage to define narrative flow

Lighting setup in Maya and Arnold

  • A warm lantern served as the primary key light, establishing the focal point of the scene and drawing attention to the interaction between the characters.
  • Cool moonlight was introduced as a secondary source, providing contrast, shaping the environment and reinforcing the night-time atmosphere.
  • Soft ambient fills helped reveal form and depth while preserving the scene’s mood.

Rendering and compositing

  • Clean AOVs were generated for full artistic control
  • Passes were integrated in NukeX with careful exposure balancing and color grading
  • Subtle fog and depth cues enhanced distance and atmosphere

The result was a scene that felt calmer, clearer and more emotionally focused, while remaining technically solid and production-ready.

This is what narrative intention means to me. Not forcing story elements everywhere, but making decisions with purpose. By defining what matters early, technical choices become clearer and less reactive later in the process.

Why this mindset matters in professional production

Narrative intention is not only a creative tool. It also improves production efficiency.

When priorities are defined early, decisions become easier to make, iterations become more focused and scenes remain cleaner throughout development. Instead of solving problems reactively, artists can evaluate choices against a clear objective.

In production environments, technical skills create the most value when they support a defined goal. That alignment between intention and execution helps projects move forward more efficiently while maintaining visual coherence.


For other artists: intention actually speeds you up

Early on, I assumed planning would slow me down. In practice, the opposite happened. Taking a few minutes to define what I wanted a scene to communicate reduced hesitation, prevented unnecessary revisions and made decision-making much faster. When you understand why you are making a decision, you hesitate less and stop overworking areas that do not really matter.

You don’t need to master every tool or technique to work efficiently. What truly makes the difference is understanding the impact of your choices and how they affect the scene as a whole. That clarity allows you to move forward with confidence and speed, instead of constantly second-guessing yourself.


Personal reflection

The scenes I struggle with most are rarely failing because of technical limitations. More often, they suffer from a lack of direction. When intention is defined early, technical decisions become clearer, production becomes smoother and final polish feels like refinement rather than correction.

You can see how this approach translates into real work in my project case studies, where I break down key decisions step by step and explain why they were made.

What I Check Before Calling a Scene Final

A scene can look finished and still create problems later in production.
Over time I learned that many issues don’t appear in the render itself, but during handoff, updates or integration into a pipeline. Before calling a scene final, I go through a production-focused review process designed to reduce those risks.


What “Final” Really Means in Production

In production, final doesn’t simply mean that a scene looks good. It means the scene is stable, organized, optimized and ready to be used by the next stage of the pipeline without creating unnecessary problems.

Many issues only appear later, when assets are reused, updated or handed to other artists. That’s why final review is as much a technical responsibility as an artistic one.


My Scene Final Checklist (Production-Oriented)

This is the core of my review process. It is mainly about reducing risk for whatever comes next.

Scene & Transform Hygiene: Before anything else, I make sure the scene itself is clean.

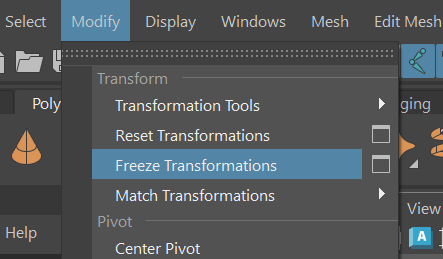
  • Assets are centered and frozen (0,0,0)
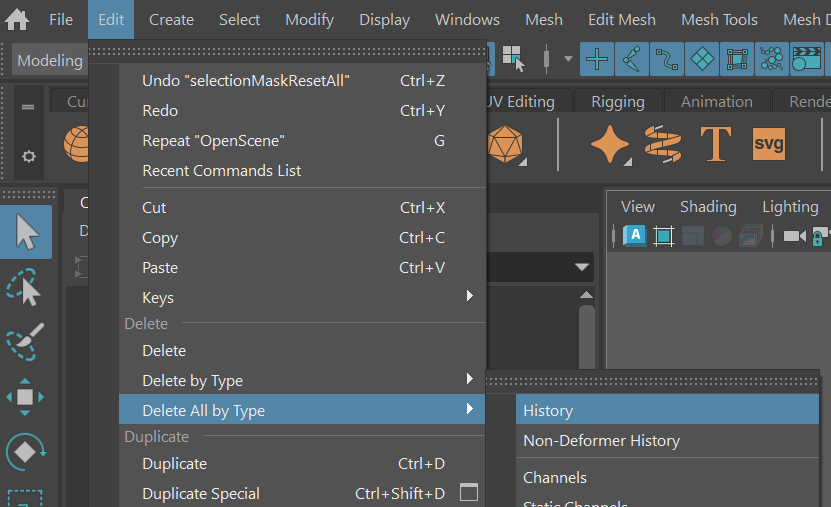
  • Construction history is deleted
  • There isn´t any unnecessary transforms or leftover data

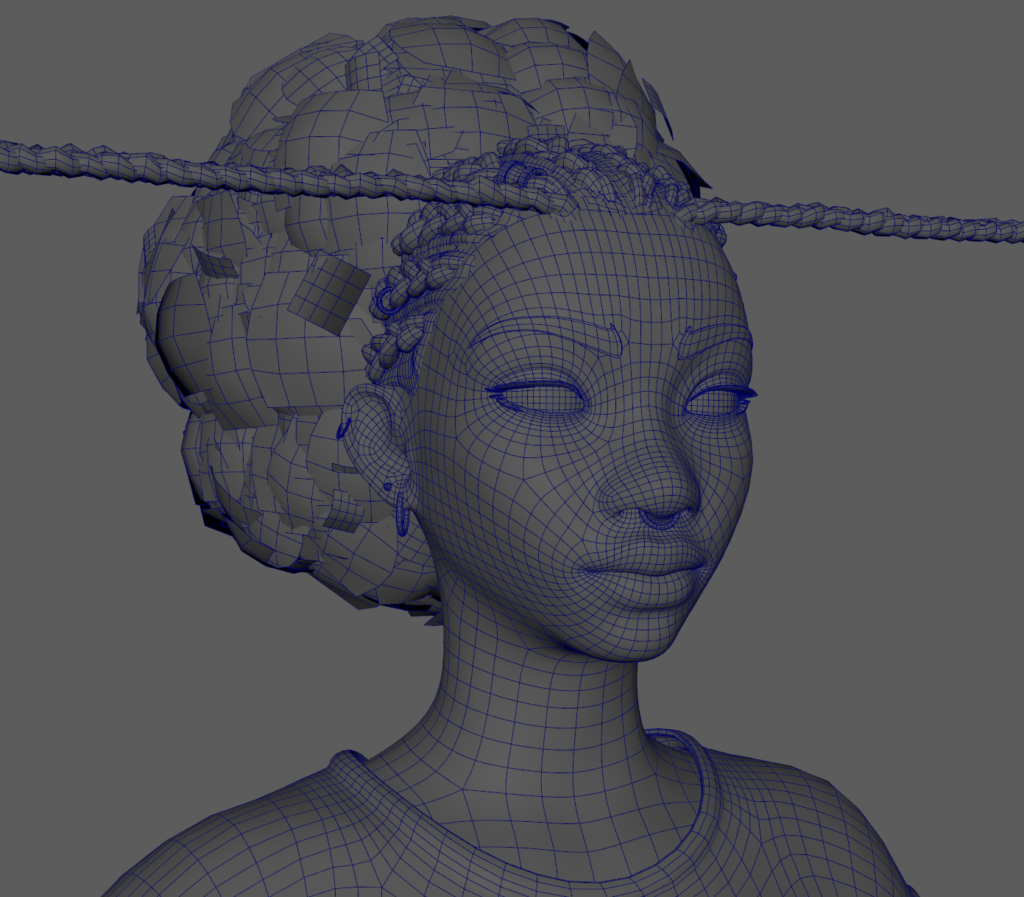
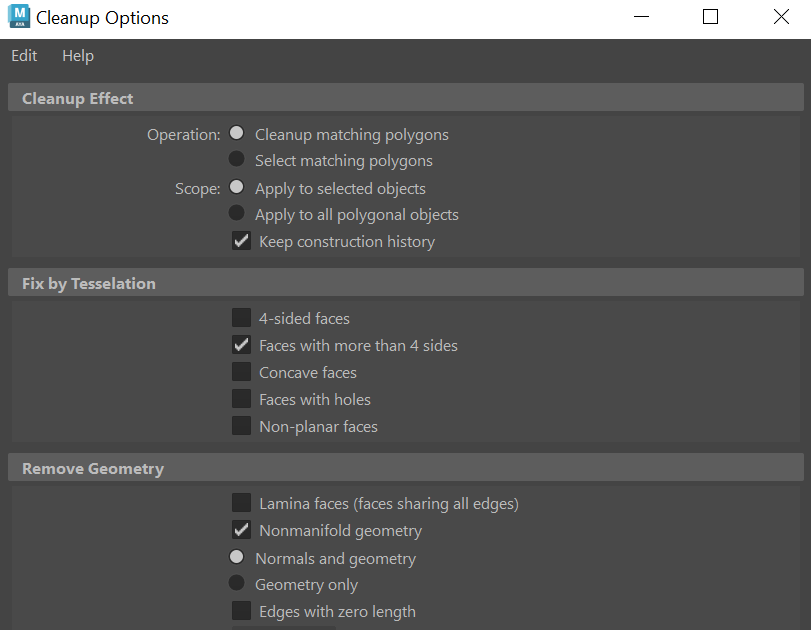
Geometry & Topology Integrity: Even if geometry looks fine in the viewport, I always double-check it.

  • No ngons or non-planar faces
  • Clean topology appropriate to the asset
  • No duplicated or hidden geometry

These checks help prevent problems during rigging, animation, or rendering.

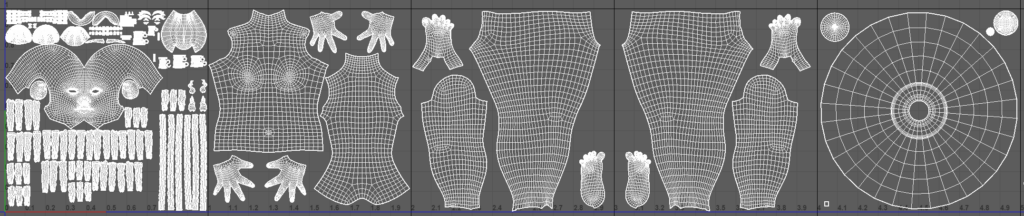
UVs & Texture Readiness: UVs are a critical part of my final review, especially because they directly affect lookdev and texturing.

I check that:

  • UVs are properly unfolded with minimal distortion
  • UDIMs are used when needed, depending on asset requirements
  • Texel density is consistent
  • Shells are well oriented and logically organized
  • There is no overlapping unless it’s a conscious, justified decision

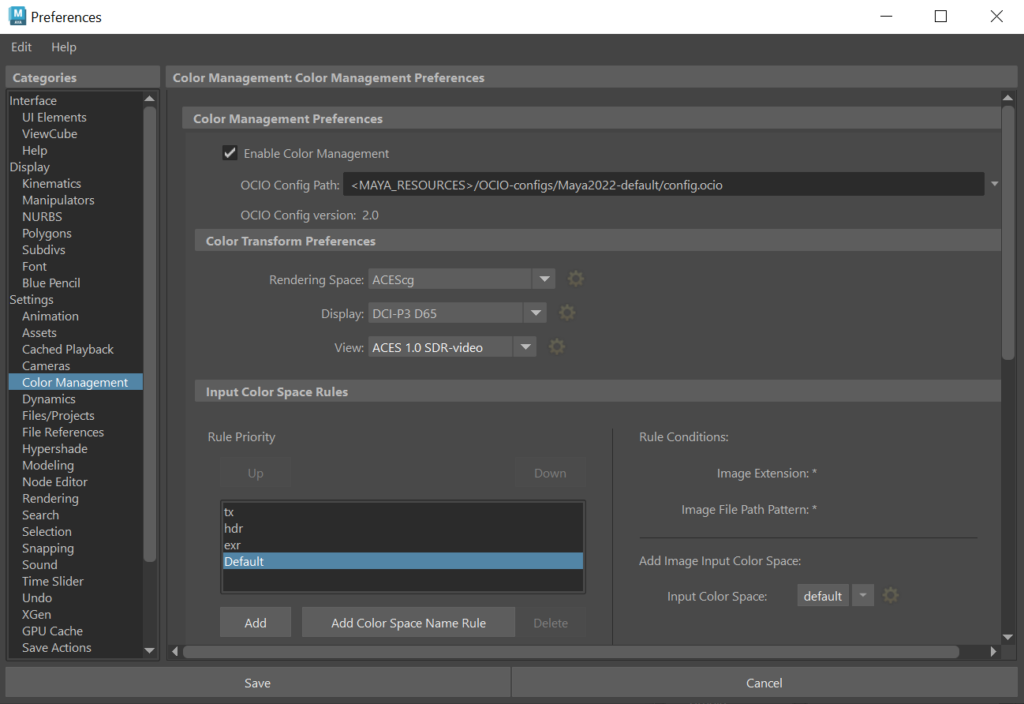
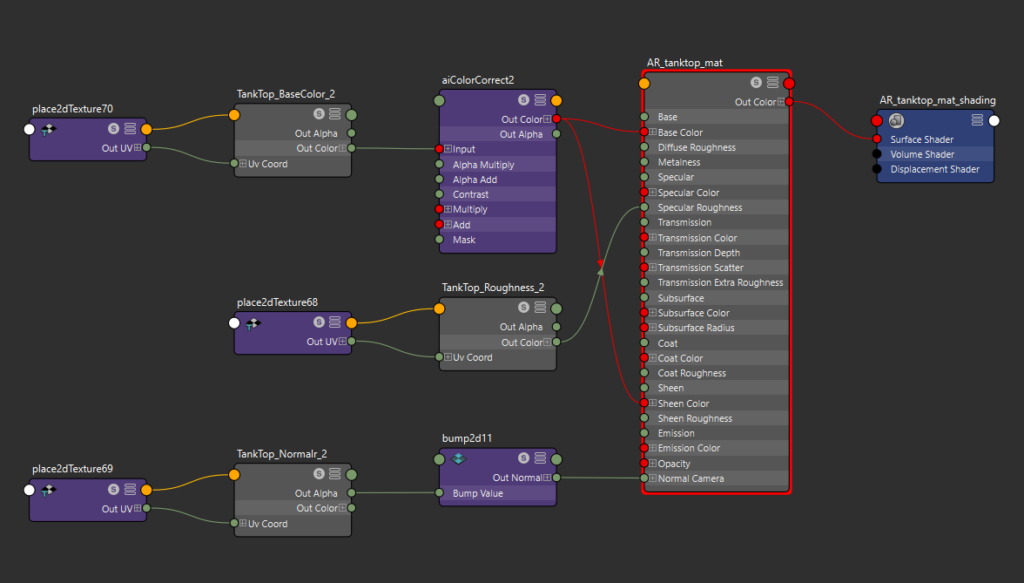
Materials, Color Space & Lookdev Sanity: Before delivery, I always review the lookdev setup.

  • Correct color space is used for textures
  • Materials are properly assigned
  • Any test materials are removed

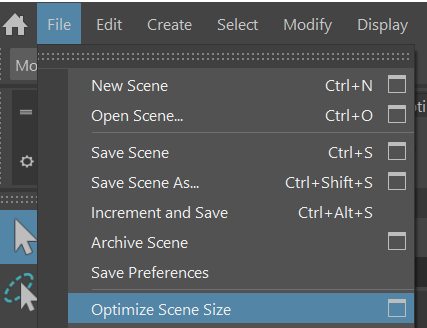
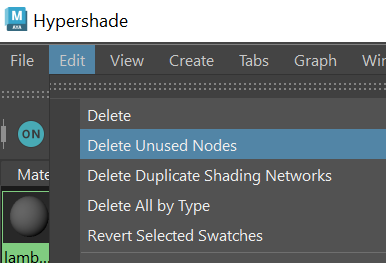
Scene Optimization & Cleanup: Finally, I optimize the scene so only what’s necessary remains.

  • Unused materials, nodes, and namespaces are removed
  • No unnecessary plugins or connections remain
  • The scene is as lightweight and readable as possible

Why This Matters for the Team

These checks help scenes move smoothly through production. A clean and organized file reduces technical issues, speeds up iteration and allows other artists to continue the work without unnecessary friction.

A scene is truly final when it behaves reliably inside the pipeline, not only when it looks good in a render.


What Other Artists Can Apply From This

One of the most useful habits I learned early on was to treat every scene as something that will eventually be opened, modified and reviewed by someone else.

Thinking beyond the immediate render helps build cleaner files, more scalable workflows and stronger production habits.


A Final Thought

In production, a scene is only finished when it’s ready for what comes next.

Technical organization, clear structure and reliable delivery are just as important as the final image itself. You can see how it’s applied in practice across the work shared in my portfolio.